
I covered it with water, let it boil for a couple of hours, and then drained the liquid. I threw a small piece of silk into the dye since I had read that silk will take the dye even without a mordant. But, as usual, not everything you read is accurate; it did color up a bit, but was not anything I even commented to the dog about.

Then I stirred in 2 T alum as a mordant, threw in a piece of silk and a larger piece of cotton and boiled them for about 15 minutes. I let them soak overnight in the dye and then hung them to dry but waited for a week to rinse and iron them. But I got excited even before they were completely dry. Here's the cotton:

And here's the silk!!

I had also read that I could get gradations by boiling the original goldenrod again in fresh water and repeating the process--and this was true. The silk soaked up so much dye that you can't tell the difference in the photo but in the cotton there is a clear difference between the second boiling on the right and the first on the left.
My next experiment involved avocado pits, thanks to the help of my daughter Clare, whose family has a fondness for guacamole. A couple of them were beginning to move into the pre-rot stage (I kept forgetting to pop them in the freezer) so I threw what I had into a pot:

Now I had also read that the longer you boil these guys the redder the dye gets and so they were on the stove for 3 or 4 hours. It was a busy day and I wasn't checking often enough, and much of the water had boiled away by the time there was a significant color in the pot. Not wanting to dilute anything any more, I stirred in 2 T alum, brought it to a boil, and then threw in a piece of cotton and a piece of silk. I left the pits in with them and boiled it all gently for about 15 minutes and then left the pot tilted over night so that the fabric was mostly covered by the small amount of liquid left.
And here, after hanging them out to dry and then waiting a week to rinse them are the results:

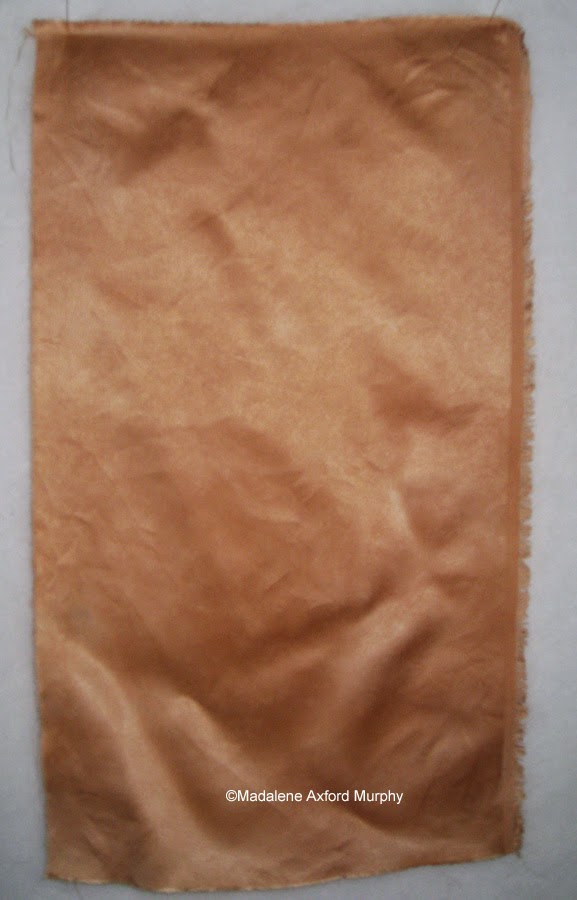
You have probably guessed that the silk is the second photo--a very rich reddish tan. Perhaps more pits--or more liquid--would produce a stronger dye. A smaller pot would help as well, which I am working on, since I am reluctant to use the pots I cook dinner in. Even though all this stuff is growing somewhere, they are, as my chemist sister would remind me, still concentrated chemicals.
And, if you are still reading, thanks for the company!
Check out Nina's Off the Wall Friday!
4 comments:
Thank you for the reminder.....I've had natural dyeing on my mental 'to-do' list for awhile....esp acorns as we have pleny around here. Now I need to get myself a pot since using kitchen eq. intended for use back in the kitchen isn't a good idea!!
I've also been considering natural dyeing, also have had India Flint's book for several years, but unlike you I still haven't done any.
I've a dear friend who has taken some dye classes at the folk school. She uses black walnuts and yellow onion skins. I also know there was a class taught on using tree lichen to dye wool. Have fun.
Lovely results ! I own two silk naturally dyed scarfs - and I love them, the colour is so subtle and rich.
Post a Comment