Pages

Sunday, August 29, 2010

The Venerable Bead

There are no groups focusing on art quilts (however you define that term) in our rural middle-of-nowhere area.  So when I was invited to join VESTA, a group of professional artists and craftswomen, a few years ago, I jumped at the chance.  And one of the advantages of such a group is that each member brings skill and expertise in a different medium or technique.  Yesterday our monthly meeting took place at the home of a member who has been creating beautiful glass beads, and she had promised to demonstrate the process.  


Now I have an overactive imagination when it comes to disasters and so when she turned on the propane and explained she had to pep it up with oxygen, I was looking for how close I was to the door and already seeing the place in flames and the ambulances on the way.  And when she warned us that heating up the glass too fast made it explode into flying splinters I decided this was not for me.   But after she successfully created a jewel of a bead and turned to encourage one of us to give it a try, I found myself stepping forward.  


Making a bead involves keeping a glass rod turning over a flame.  You can't stop because the glass blob will follow the laws of gravity and drop off.  At one point I had to turn the glass rod and heat up another metal rod on which the bead will be wound, all the while keeping my fingers out of the flame.  In other words, I had to expose my lack of coordination to the entire group. Can she walk and chew gum at the same time?  Somehow the glass blob made it successfully onto the metal rod and I produced a reasonably round gleaming purple bead.  Flushed with my success I agreed to do another one, which immediately proved the first had been a fluke .  I managed to transfer a quite lopsided blob to the metal rod and had to work to get it evened out.    


And then, since no one else was leaping up to expose themselves to danger and ridicule, Kathy insisted I do a third.  Even bigger one this time, she said.  I was beginning to feel the rhythm of this but those shoulder muscles I use in FMQ were beginning to ache and so my last bead was indeed bigger but had some roundness issues.  
Certainly not enough beads to embellish a quilt.  But I gained an understanding of and an appreciation for the skill it takes to make even a simple glass bead.  And I have always loved the way light and glass produce magic.  Thanks, Kathy!

Oh--the title.  There was a medieval historian named Venerable Bede, who seemed to take himself way too seriously, and I always wanted to use his name in a tongue-in-cheek fashion.  So I can cross that off my life to-do list.  And if you are still with me, thanks for the company!

Friday, August 27, 2010

Ireland Project

As part of my planning for our trip to Ireland in May I knew I had to include some handwork for those long hours on the plane and on the bus as we traveled from site to site.  Celtic knotwork seemed an appropriate project, and when the chair of our upcoming guild exhibit announced a second challenge to make a 9" x 12" quiltlet to be sent to Ami Simms' Alzheimer's Art Quilt Initiative auction, I thought this would be the perfect combination.   The title of this part of the exhibit is "Ties That Bind" and we had to include part of an old man's tie in the piece (that's an old tie, not necessarily an old man), but that would be simple.  I had long wanted to design a butterfly in knotwork so I set to work:
After a few day's erasing and redrawing, I had a workable pattern for the forewing and smaller hindwing.

Before we left, I had sewn down one side of the strip on a good potion of one forewing just to make sure there weren't any surprises in the turns or points or the sewing down of the bits of black silk tie in the background.  My supplies would be limited by space and all those airline regs. I could cut thread with a dental floss container, but probably not fabric.  I made and wrapped the bias strips around a couple of empty spools, packed extra needles, stowed my scissors in my checked bag, and I was ready.  Unfortunately, I took no pictures since making sure I packed enough underwear for two weeks with no laundromat was more of a priority at that point.  

I did manage to get quite a bit accomplished on that relatively sleepless night flight over the Atlantic, but I had not counted on a small bus bouncing, hurtling, and swaying down what looked to me like one-lane roads that had two-way traffic on them.  No way to do delicate handwork here.  And the trips were relatively short anyway.   I got a little done in the evenings and on the plane and car trip home. 

With the help of another long car trip to Boston, I declared both wings complete by late July and I threw myself into creating a body (more silk tie).

Although this is not realistic, I kept feeling it needed antennae so those appeared (pearl cotton), and I added some color before I began to think about the quilting.
By this time it was August and I had two other quilts to finish for the exhibit.  Something had to go and so my butterfly, which I have named Feileacan (Irish word for butterfly),  is sitting on top of a pile next to my ironing board.  It will eventually go to Ami Simms but is not going to make it into the guild exhibit that opens September 3.  Sigh. . . .

And if you are still with me, thanks for the company.

Friday, August 20, 2010

Oh, Shoot!

That's what I would often say--or something less printable-- when I was trying to photograph one of my quilts to send to an exhibit somewhere.  Since exhibiting my quilts has not been a major priority in this year of experimentation, I have not had to confront my ineptness in this area--or bring up my usual complaint:  why should a quilt be judged on the basis of  a quilter's skill in photography or her ability to hire a professional photographer?  Not only is professional photography expensive, but here in rural northcentral Pennsylvania there are no local photographers who have experience photographing quilts.

Nevertheless after getting several e-mailed calls for entry for a show I had gotten into a few years ago, I began to get the urge to attempt the process again.  But one of the quilts I wanted to enter I had tried to photograph before, had even had a friend photograph it who has won so many awards for her photos that she might as well be called a professional, and neither of us, either with indoor lighting or outdoor, could get the color true on the photos without a color adjustment in Photoshop Elements.  And the rules, as they so often do, clearly state:  "Images cannot be enhanced in any way, including color correction."  I have a penchant for purple, you see, and it seems that purple is very hard to photograph; it turns blue or gray.
Okay, I said, this is my year of learning.  Let me confront my ignorance and see if I can learn something.  I had known about Holly Knott's website for a while and her tutorial "Shoot That Quilt!" that steps you through the process of photographing a quilt.  So I actually sat down last weekend and read it, bought some of the lighting hardware at our local Dunham's Do-It Center (I tried Walmart but I'm glad to say the reflector lamps were too cheap and wouldn't hold steady on the posts), ordered the bulbs she recommends online and made do with 150 watt regular bulbs for this session since of course the deadline was today.  Took about an hour total of my time putting everything together.  Well, part of that hour included Tom's time since he has a new drill he wanted to use to put the screws in.  And I now have better and more reliable lighting than I have ever had before.  Two of these less than elegant gizmos can light a quilt quite nicely.
Along with a talk at our guild meeting at the beginning of the week that just happened to be by local photographer Caleb Williams, she gave me confidence to play with the white balance on my camera.  I learned another technical term--bracketing (taking an underexposed, normally exposed, and overexposed set of three pictures) and tried that, feeling proud of myself that I had figured out one more thing about my camera.  I couldn't tell from the camera screen how correct the color was so  it was quite a surprise when I downloaded the photos to my computer and there was my quilt looking reasonably like it should, without any color correction needed.
The next hurdle was the 5 x 7 inch format required.  I might have been able to squeeze this into a 7 x 5 but had no idea how to fit this vertical image into a horizontal space.  In Gloria Hansen's book, Digital Essentials, which has become one of those what-did-I-do-before-I-found-this books in my library, I discovered the specific steps I needed to resize the image. 

So I made the deadline for the entries. Even though the photos are a bit better, that's little guarantee that the quilts will be accepted.  The one above, which is called No. 61,  is one of my favorites because it captures so many meanings for me.  I created all the fabrics for this piece--the background is painted with Setacolor and sun faded, and I dyed the deep purple and red to fit the project.   I love the contrast of texture and color and movement.  But it's small, only about 36 x 26 inches, and  it is certainly not as flashy as so many of the quilts are these days.  We shall see what happens.  And if you're still with me, thanks for the company!

Monday, August 16, 2010

New Week's Resolution

I have woefully neglected this blog in the past few weeks, but it is Monday, the beginning of a new week and I have resolved to be pay more attention to journaling my quilting journey.  Since this blog focuses--or tries to--on quilting/art related topics, I will not tell you about one of the big distractions from my quilting last week:  an energy-filled visit from our 2 1/2 year old granddaughter and her parents, which of course involved preparing a house full of pointed quilting tools as well as dust in corners I normally don't notice.
Even this was quilt-related, however, since I was forced to take some time out to organize fabric and rulers, and I also had a great talk about the meaningfulness/usefulness of art with her mother. 

I also taught two classes, the first on making labels using a computer printer and the second on dyeing.  Great people signed up for them so there were lots of questions and a good bit of laughter.  And I thoroughly enjoyed both.  The dyeing class was somewhat dependent on the weather, since it was to be outside, but that Saturday morning dawned beautifully sunny and refreshingly cool--a bit too cool for the dyes, but I managed to get things warmed enough that they seemed to work fine.   I often get too involved in the classes to remember to take pictures, but I did record the final exciting moment of truth when the iron reveals exactly what the fabric will look like.


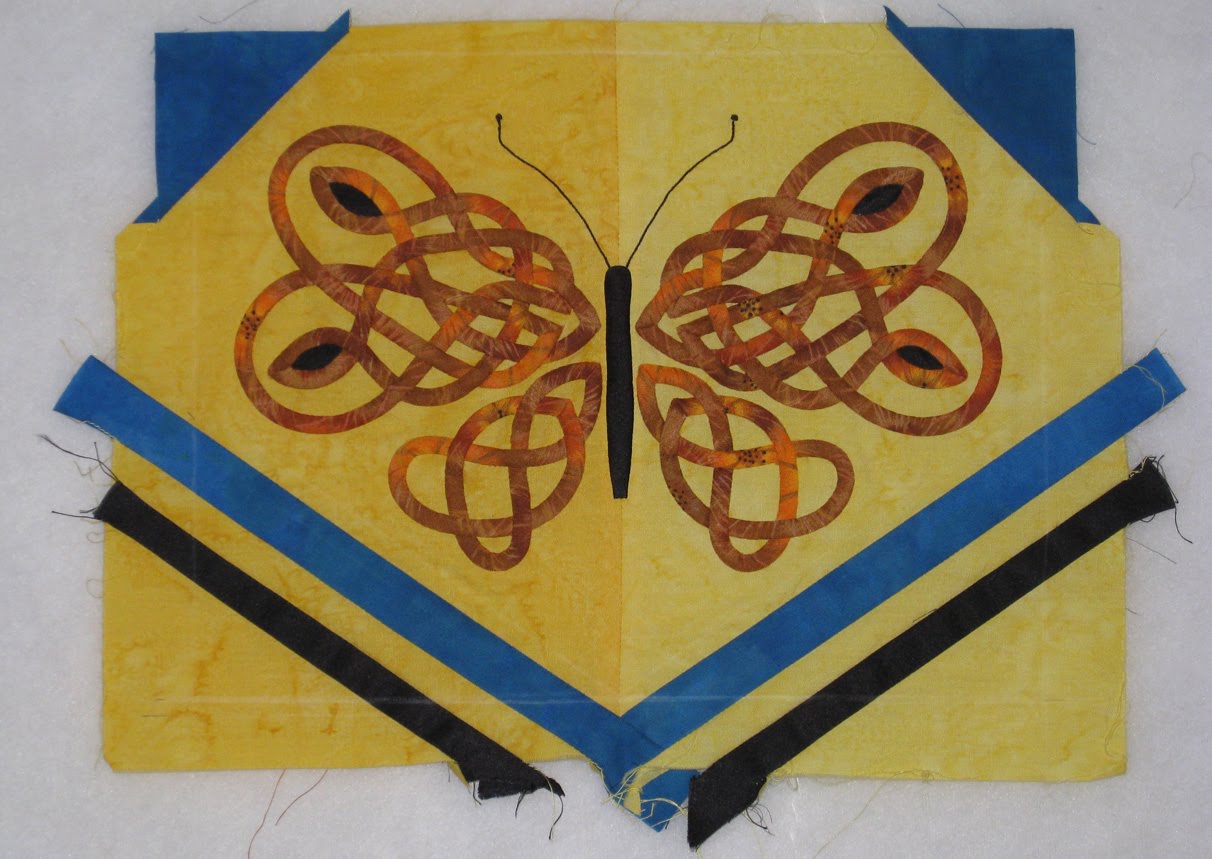
And I have been quilting, just not writing about it.  Our local guild's biennial exhibit opens Labor Day weekend and I have been hard at work trying to finish two quilts.  I realistically abandoned a third that was just not going to get finished by the deadline.  And I am on to the binding at last on one:
 
Binding should be easy, right?  But even here this quilt gave me a challenge.  I had decided not to face it because I had triangles going right to the edge and I felt they needed something beyond to finish. 

I finally decided that binding it in the dark gray would finish the edge but not call attention to the binding.  I had dyed almost all the fabrics for this quilt and had found that gray was much more challenging than I thought.  It was very easy to get a gray with an obvious green or blue cast and this was not what I wanted.  Finally I got the perfect color for the body of the quilt but then decided the best color for the border would be gray.  Not enough dye left, of course, so I had to put a quick order in to Dharma and then kept my fingers crossed that the mix of dyes would work again.  It did and I thought I had used most of that fabric up creating the border.  But now there was some perfectly good dark gray that I could use as a narrow binding--or so I thought.

I set about squaring up the quilt and measuring the binding strips and sewed the first side on.  Luckily I decided to check things out before starting the next side.  My binding, which had looked fine in regular light, had a slight but definite greenish cast in bright, clear lights when it was attached to a whole side.   Not acceptable.  You'll have to take my word for this because I could not get the contrast to show on a computer monitor.   Not only that, I had stopped the quilting about a half inch below the binding, thinking it would be a nice contrast but it looked unfinished.  More free motion quilting was called for! And that meant more squaring and measuring. . . .

After a day of depression and questioning whether this ornery quilt was worth it, I sat down to add the quilting and a wonderful thing happened.  I found myself having a good time.  I am still not satisfied with having complete control over my stitching--no Diane Gaudynski in this house!--but I have done enough of it with all those Doodle Squares that I can get in the flow of it and have fun.  I knew that free motion quilting was not as stressful as it once was, but I would never have thought that I would look forward to that part of the quilting process.  

Black seemed to be the best choice for the binding and, as sometimes happens, it was good that the gray did not work out because the black provides a better frame for all the movement in the quilt.  Of course there is still the hanging sleeve and the label as well as a bit of hand quilting to do yet, all of which take more time than they look like they should.  But this quilt looks like it might make it for the show.

My second quilt is very experimental and difficult to photograph.  I am still not sure whether my planned hanging system for it will work, but more about that later. . .  And if you're still with me, thanks for the company.

Wednesday, August 4, 2010

Experiments

Last week I escaped the heat by retreating to the basement to do some dyeing.  I did some gradations--tried a new yellow that produced a rich, lovely gold that I will definitely use again, dyed some purple because I can never have enough purple and then I decided to play.  I tried some folding, tighter and more regular folding than I had done before and here are a couple of the results:

I don't really have anything to say here, although you can see that beautiful yellow in the above piece.  I just thought these two needed something to separate them.  
The next day I finally got around to trying out a flour resist.  Remember that flour paste you might have made as a child?  Well, this is very similar, except you smear it all over a piece of fabric, let it dry and crack, and then put dye on top of it.   Here is the result.  It is not the prettiest fabric I have ever dyed, but I am intrigued by the patterns created by the cracking and will definitely try it again to see if I can work up to something I have a little better control over.  I might even find a full description of the process somewhere, since I was making some of this up as I went along.
You can click on the image to get some more detail.  Part of the learning experience was realizing that leaving the flour resist in the basement over night while it was drying was not a good idea.  A very small critter--probably a field mouse--paid a visit and left tiny footprints in the flour goo and sampled it in several spots, memorialized by the bigger splotches of dye on the fabric.

While I was waiting for the resist to dry, I searched out my Setacolors, painted a half yard of fabric, put it out in the sun, and swirled it to see what would happen.  I brought it in after about an hour, ironed it to heat set it, and, as usual, magical things had happened.  It is definitely a favorite!

Now back to those quilts I must have finished by the end of August.  And if you are still reading, thanks for the company!