There are many how-to videos on the web and so I knew the basics. I began with a piece of plywood 48" x 26". I chose plywood rather than some of the other composite wood surfaces because I am hoping the plywood will give off fewer nasty fumes with the steamy heat it will be subjected to, but it also should not warp as easily as wood shelving. The board will sit atop a wooden dresser that holds my commercial fabrics and that is a good height (35" high) for me. I can iron on top of it without hunching over the board and with my forearms parallel with the ground. The board is wider and longer than the top of the dresser, providing more ironing surface, and the dresser backs against my cutting table so excess fabric (or a large quilt top) will be supported in the back.

Next I cut a piece of Quilter's Dream cotton batting (Request weight--one step above the thinnest) just a bit bigger than the top of the board. Quilter's Dream has no plastic scrim that could cause problems if it was heated by a very hot iron.
I made a quick trip to Jo-Ann's for some heavy cotton duck and chose the lightest color they had since I did not want to have any color transfer problems. And I washed and dried it before I used it because that new fabric chemical smell was annoying when I pulled it out of the bag but when heated would have been unbearable.
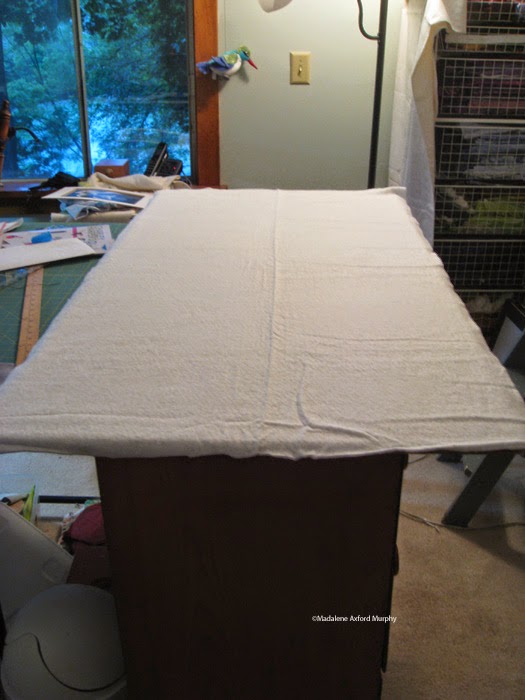
I cut the duck about 5 inches longer and wider than the board, laid it on the floor, centered the batting on the fabric and then the board on the batting. I folded the fabric around to the back of the board and stapled it in the middle of one side, moved to the opposite side, pulled the fabric as taut as I could and stapled it there, repeating the whole process on the other two sides. The corners were next: I flipped the fabric diagonally over the corner of the board, stapled and then sort of mitered the two sides down and stapled them. I stapled every couple of inches between the corners and the middles and I had a pressing surface!

I can cross one more thing off my to-do list for the studio. And I will not end this blog by saying I now must return to more pressing issues--or perhaps I will. Thanks for the company!

2 comments:
I love it! Looks like you are well on your way to getting your studio settled!
Was just wondering . . . if you need to seal the plywood in case of water spills etc.
Post a Comment